Products
Build the product catalogue that Cyrqle tags onto creator content and surfaces on shoppable walls.
Your product catalogue is the single list of everything your brand sells inside Cyrqle. Each product carries a title, price, image, links, and variants. Once a product lives in the catalogue, you can tag it onto creator posts on your content walls (as a shoppable hotspot or a plain tag) so shoppers can go straight from the content to the product page. The catalogue is the source of truth that both content walls and campaigns draw from, so it is worth getting right early.
You reach it from the left sidebar under Products, which opens your catalog at /<your-brand>/products.
Before you start
You need to be signed in as a brand (or agency) member of the workspace. To import a catalogue, have a Shopify product CSV export ready. To add products by hand, have the product title, price, currency, the live product-page URL, and an image URL to hand.
Understand the catalogue at a glance
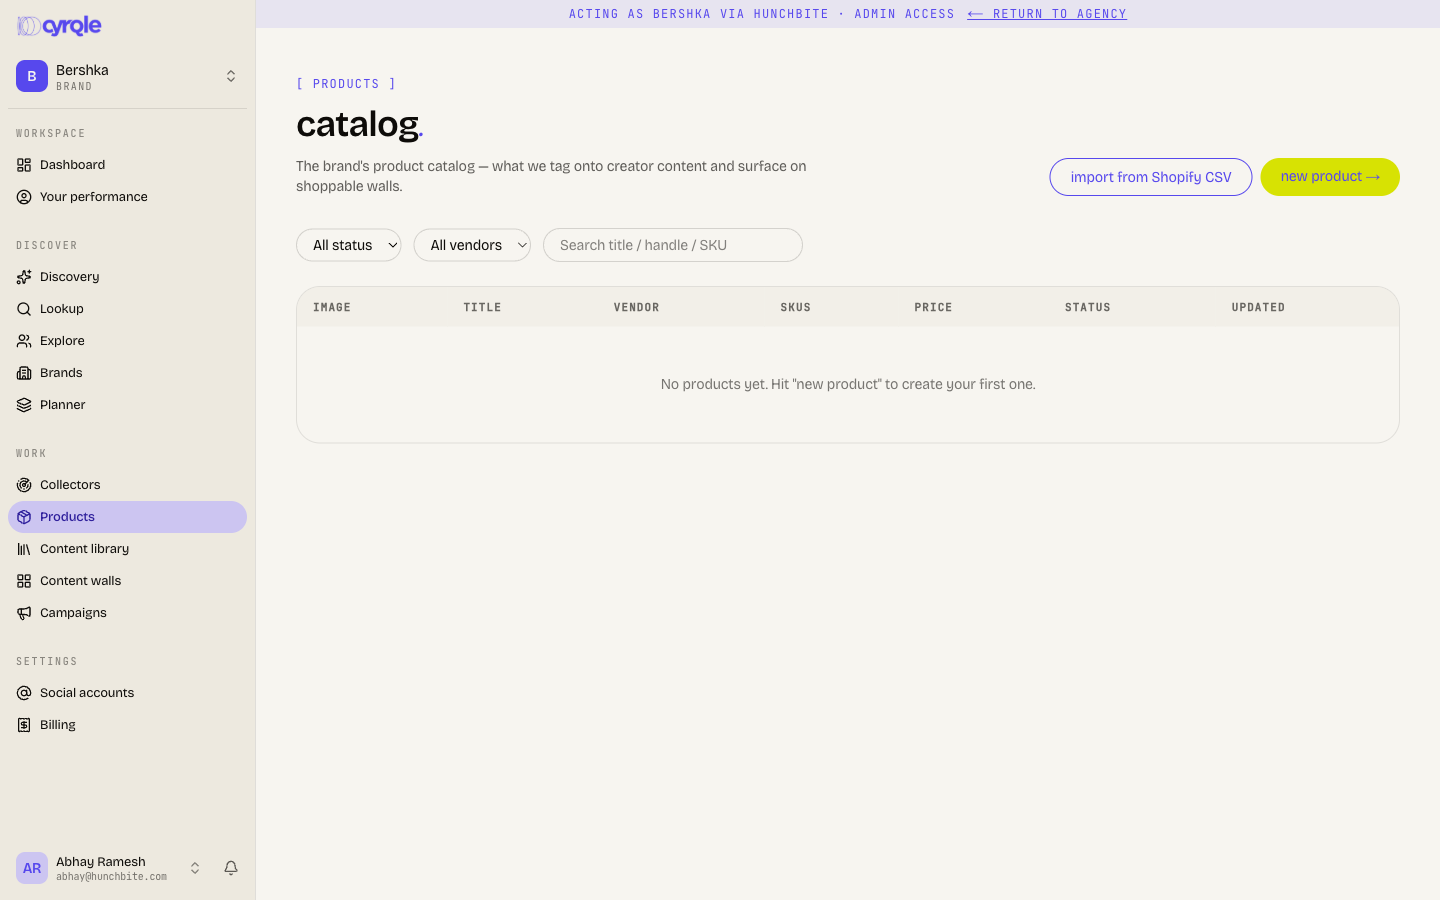
The catalogue page lists your products in a table (on wider screens) or stacked cards (on mobile). Each row shows the Image, Title (with its handle underneath), Vendor, number of SKUs (variants), Price (a single price or a range), Status, and the last Updated date.
Three controls sit above the list:
- A status dropdown to show all products, or only
draft,active, orarchived. - A vendor dropdown to narrow to one vendor.
- A search box to find products by title or handle.
Filters update the list as you change them, and the list pages in blocks of 25 with prev and next links at the bottom.
Every product has a status that controls where it can appear:
Prop
Type
Add a product manually
Use this when you only have a handful of products, or to add one item quickly.
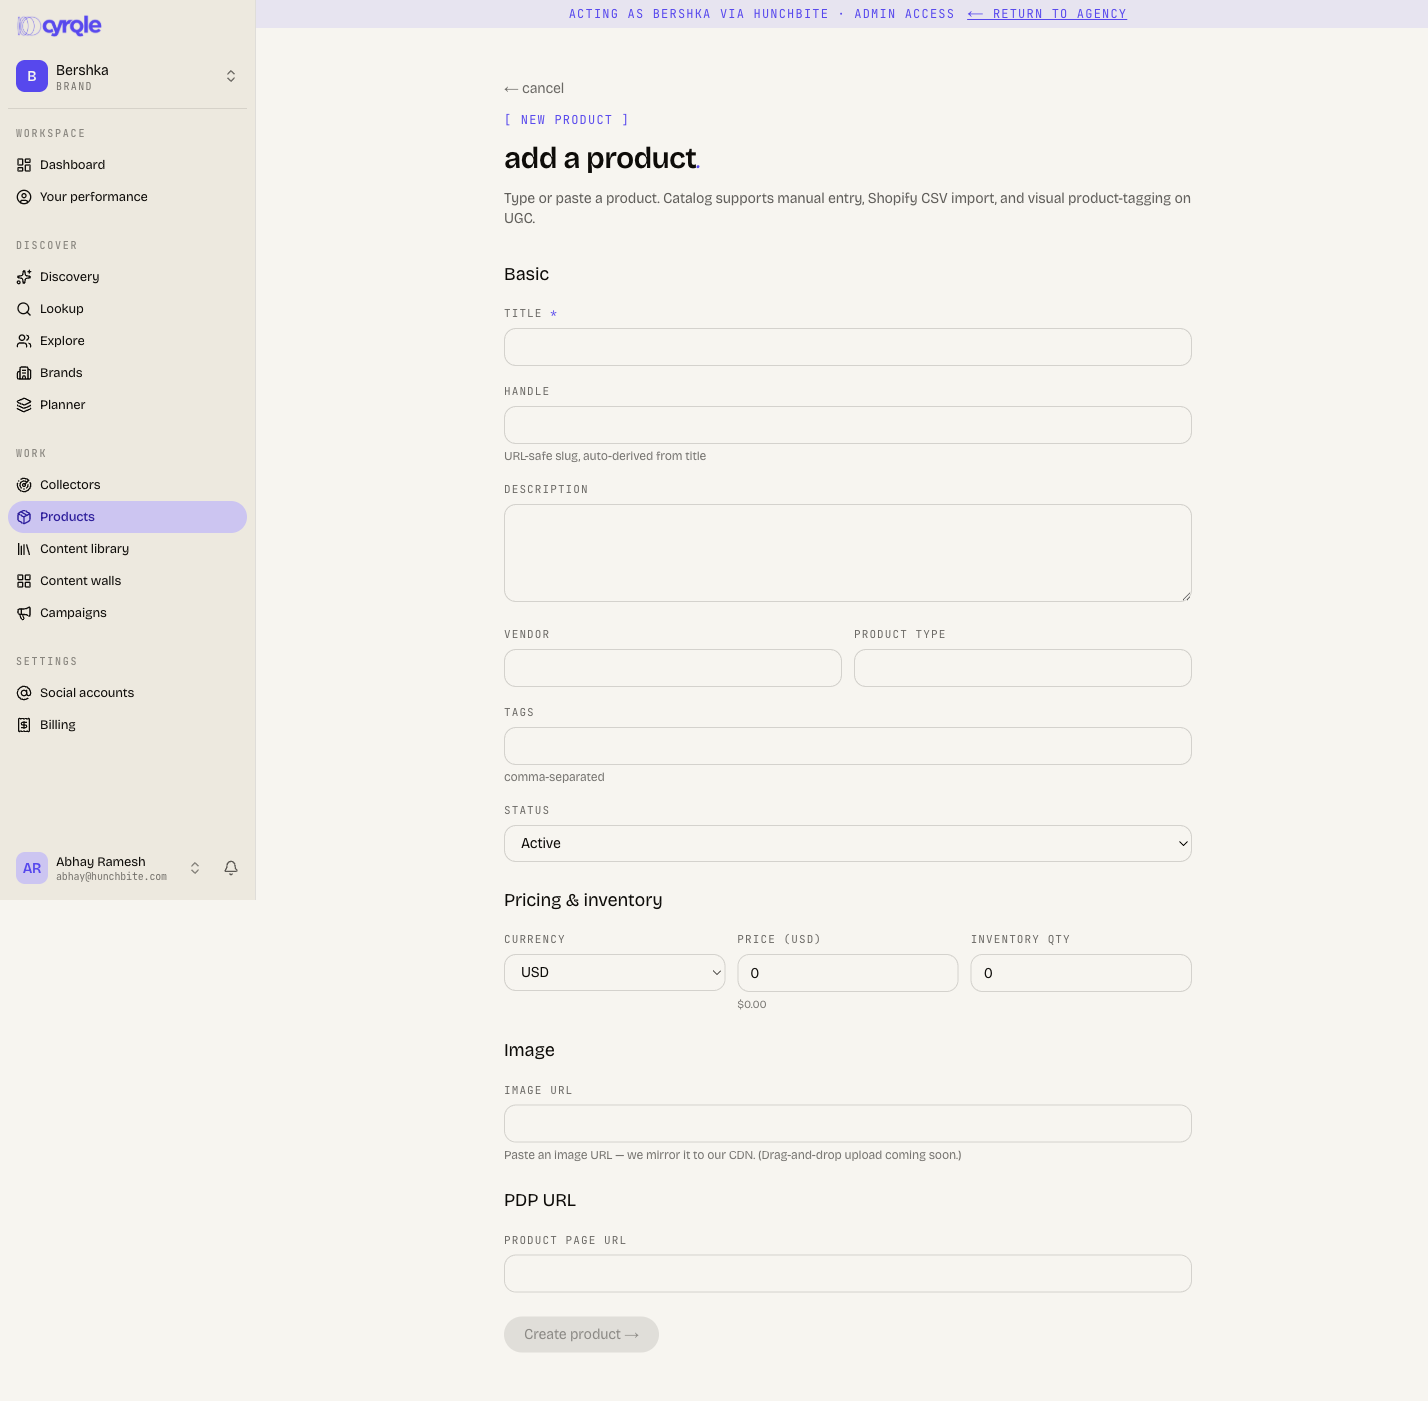
On the catalogue page, click new product (top right). This opens the add-product form.
Fill in the Basic section. Title is the only required field. As you type the title, a Handle (the URL-friendly short name) is generated for you; you can edit it. Optionally add a Description, Vendor, Product type, and comma-separated Tags, and choose a Status (active, draft, or archived).
In the Pricing section, pick a Currency, type the Price (for example 35.00), and set the starting Inventory quantity. A live preview shows the formatted price as you type. This creates a single default variant; you can add more variants later on the product's detail page.
In the Image section, paste an Image URL. A thumbnail preview appears once the link is valid.
In the Product page URL section, paste the public product-page link shoppers should land on.
Click Create product. Cyrqle saves the product and opens its detail page, where you can keep editing.
Import products from a Shopify CSV
When you already have a catalogue in Shopify, importing is far faster than adding products one by one. Cyrqle reads a standard Shopify product CSV export.
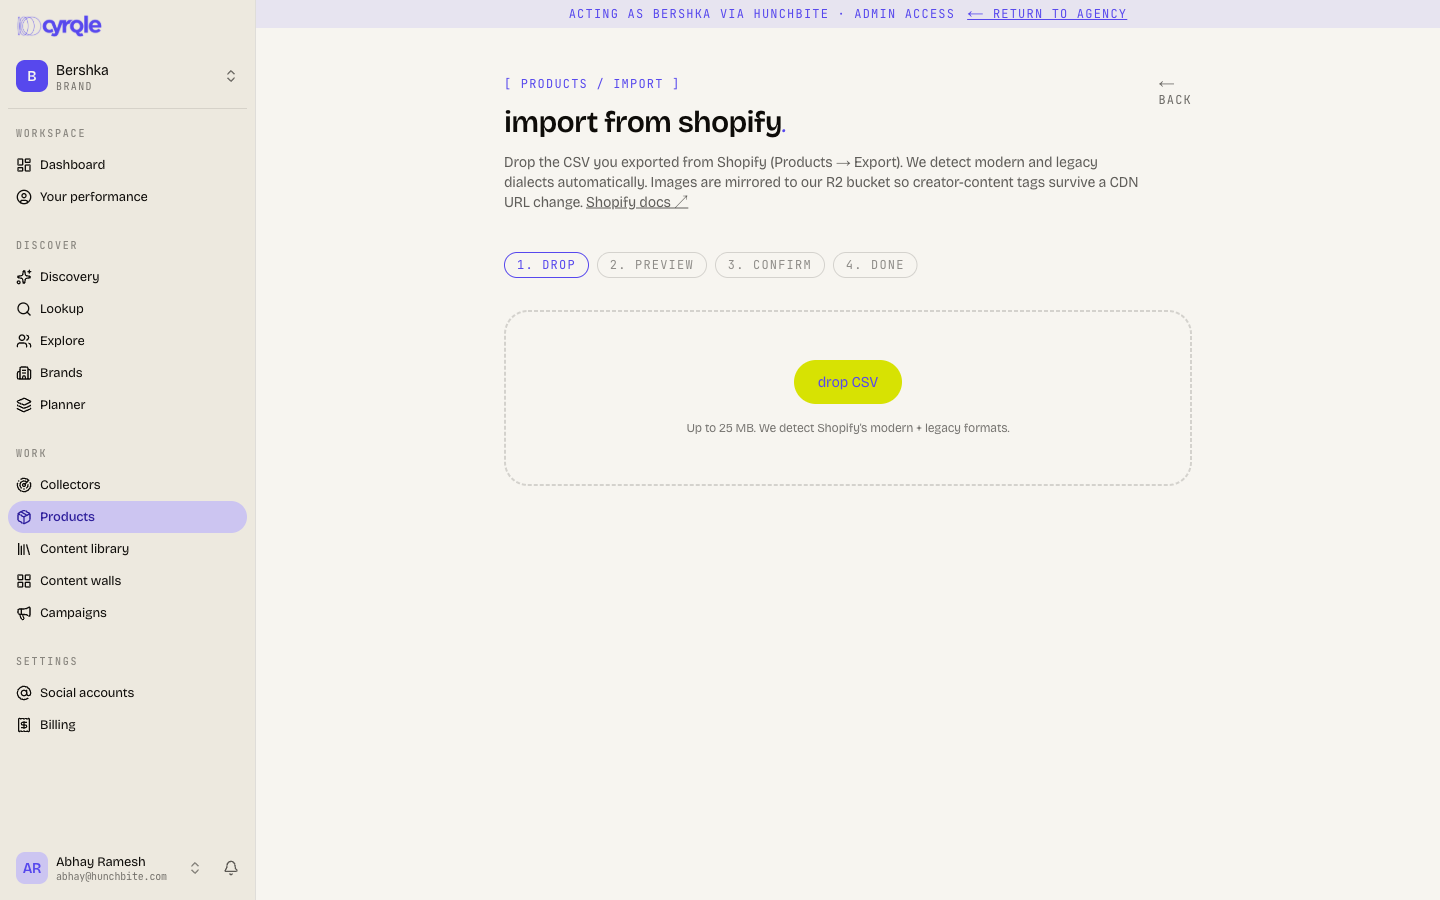
On the catalogue page, click import from Shopify CSV. This opens the import wizard, which walks through four steps: upload, preview, confirm, and done.
Click the upload button and choose your .csv file. Cyrqle uploads it and reads it. Both modern and legacy Shopify export formats are recognised automatically.
Review the preview. Cyrqle shows the detected file format (dialect), the total number of products found, the filename, and a grid of sample products with their image, title, handle, variant count, and image count. Confirm the Currency for the import (it defaults to your brand currency); prices in the file are read in this currency.
Click import to run it. When it finishes you get a summary card with counts for products created and updated, variants created, images queued and mirrored, and any errors.
Click view catalog to see the imported products, or import another to upload a second file.
Imports update existing products
If a product in the file shares a handle with one already in your catalogue, the import updates it rather than creating a duplicate. The summary card's "updated" count tells you how many were matched this way.
Edit and organise a product
Click any product title to open its detail page. Editing is split across four tabs.
Edit the Title, Handle, Description, Vendor, Product type, Category, Tags, Currency, and Status. Click Save to apply your changes.
Each variant is a sellable option (a SKU). The panel lists every variant with its title, SKU, price, and inventory. Click Add variant to create one, the pencil to edit a row, or the bin to delete it. A variant can carry a title, SKU, up to two named options (for example "Size / Large", "Colour / Black"), a price, and an inventory quantity.
Shows the product's image gallery. Imported products bring their images across automatically; the count at the top tells you how many are attached.
Lists the product-page links, each with its locale and a primary badge on the main one. This is the link shoppers follow from a tagged post.
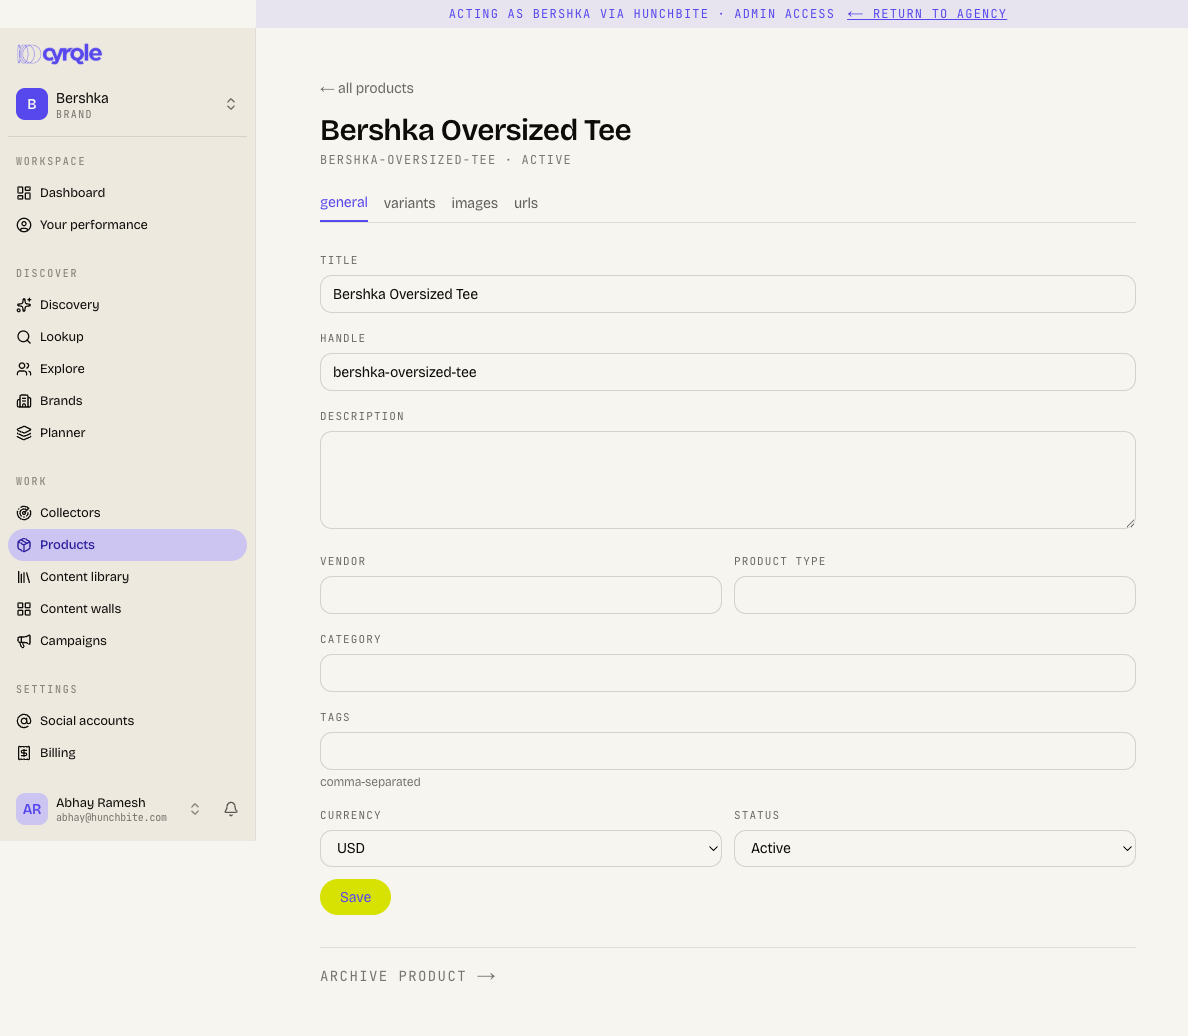
To retire a product, open it and click archive product at the bottom of the editor. Archived products drop out of the default catalogue view but remain searchable, so nothing is lost.
Use products on content walls and in campaigns
Adding a product to the catalogue does not put it on a wall by itself. You tag products onto specific creator posts while building a content wall.
Open the wall builder for a campaign and pick a creator post you want to make shoppable.
In the product-tag drawer on the right, search your catalogue by title or SKU, and narrow with the vendor, status, or has image filters. A recently tagged strip gives quick access to products you have used lately.
Click tag on a product to attach it to the post. If a product has more than one variant, you can pick a specific variant or tag all variants.
To turn a tag into a shoppable hotspot, click add pin on a tagged row, then click the exact spot on the image. The pin shows as a numbered dot. You can move pin or remove pin later. Tags without a pin still appear as shoppable products on the post; the pin just places a precise marker on the image.
Because content walls belong to campaigns, the products you tag flow through to the campaign that owns the wall. Keeping products active and well-described in the catalogue makes them easy to find and tag while a campaign is live.

Tips
- The handle auto-fills from the title but stays editable; keep it stable, since imports match existing products by handle.
- Prices are entered in plain numbers and the currency is set per product. The form accepts forms like
35,35.00, or35,00and tidies them for you. - Supported currencies include USD, EUR, GBP, CAD, AUD, INR, BRL, MXN, and JPY.
- Use tags and vendor consistently so the catalogue filters and the tagging drawer stay easy to scan.
- Set a product to
draftwhile you finish its details so it does not appear in the tagging search before it is ready.